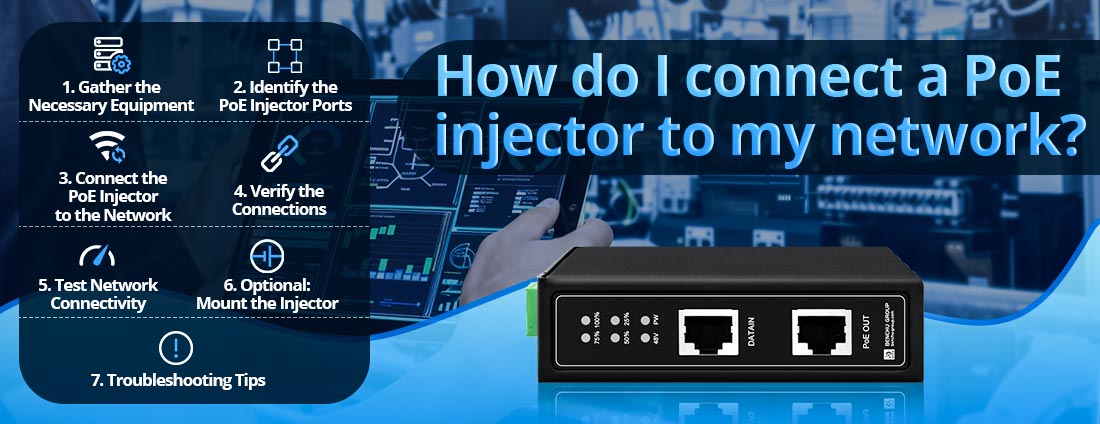
Un injecteur Power over Ethernet (PoE) vous permet de fournir à la fois de l'alimentation et des données à un appareil compatible PoE via un seul câble Ethernet. La connexion d'un injecteur PoE à votre réseau est simple mais nécessite une attention particulière aux ports et connexions corrects. Suivez ces étapes détaillées :
1. Rassemblez l’équipement nécessaire
Avant de commencer, assurez-vous d'avoir :
--- Injecteur PoE: Choisissez-en un compatible avec votre appareil et les exigences de votre réseau.
--- Câbles Ethernet : utilisez des câbles de haute qualité (par exemple, Cat5e, Cat6) pour une alimentation et un transfert de données fiables.
--- Alimentation pour l'injecteur : Un câble d'alimentation ou un adaptateur inclus avec l'injecteur.
--- Périphérique PoE : les exemples incluent les caméras IP, les points d'accès sans fil ou les téléphones VoIP.
--- Commutateur réseau ou routeur : pour se connecter au réseau plus large.
2. Identifiez les ports de l'injecteur PoE
Un injecteur PoE possède généralement deux ports Ethernet :
--- Port d'entrée LAN/données : reçoit les données de votre commutateur ou routeur réseau.
--- Port de sortie PoE : transmet l'alimentation et les données au périphérique PoE connecté.
--- Il existe également un port d'entrée d'alimentation où vous connectez l'injecteur à une source d'alimentation.
3. Connectez l'injecteur PoE au réseau
Connectez l'injecteur au commutateur ou au routeur :
--- Utilisez un câble Ethernet pour connecter le port LAN/Data In de l'injecteur PoE à un port LAN de votre commutateur ou routeur réseau.
--- Cette étape garantit que l'injecteur reçoit les données du réseau.
Connectez l'injecteur au périphérique PoE :
--- Utilisez un autre câble Ethernet pour connecter le port de sortie PoE de l'injecteur au périphérique compatible PoE (par exemple, caméra IP ou point d'accès sans fil).
--- L'injecteur fournira à la fois de l'énergie et des données à l'appareil via cette connexion.
Connectez l'injecteur à une source d'alimentation :
--- Branchez l'injecteur sur une prise de courant à l'aide du câble d'alimentation ou de l'adaptateur inclus.
--- Vérifiez que le voyant d'alimentation sur l'injecteur est allumé, indiquant qu'il est actif.
4. Vérifiez les connexions
Vérifiez les LED d'état sur l'injecteur PoE :
--- LED d'alimentation : confirme que l'injecteur est alimenté.
--- LED Data/Link : indique une connexion de données réussie avec le réseau.
--- LED PoE (si disponible) : confirme que l'alimentation est fournie au périphérique PoE.
Vérifiez le périphérique PoE :
--- Assurez-vous que l'appareil s'allume et se connecte au réseau.
5. Tester la connectivité réseau
--- Accédez au Appareils PoE interface de gestion (le cas échéant) pour vérifier qu'elle est connectée et fonctionne correctement.
--- Testez la transmission des données en pingant l'appareil ou en utilisant des outils de diagnostic réseau.
6. Facultatif : Montez l’injecteur
Si l'injecteur fait partie d'une installation permanente :
--- Utilisez les trous de montage ou les supports (le cas échéant) pour le fixer à un mur ou à un rack.
--- Assurez une bonne ventilation et évitez de le placer dans des zones sujettes à la surchauffe.
7. Conseils de dépannage
Si le périphérique PoE ne s'allume pas ou ne se connecte pas :
--- Vérifiez les connexions des câbles : assurez-vous que tous les câbles sont correctement branchés dans les ports appropriés.
--- Vérifiez la qualité du câble : utilisez des câbles Ethernet certifiés (Cat5e ou supérieur) pour minimiser la perte de puissance.
--- Confirmez la compatibilité PoE : assurez-vous que la norme PoE de l'injecteur correspond aux exigences de l'appareil (par exemple, IEEE 802.3af, 802.3at ou 802.3bt).
--- Inspectez les LED : recherchez les indicateurs d'erreur sur l'injecteur ou le périphérique PoE.
Conclusion
En suivant ces étapes, vous pouvez facilement connecter un injecteur PoE à votre réseau et alimenter vos appareils compatibles PoE. Une configuration appropriée garantit une alimentation électrique stable et une communication de données transparente, rendant votre réseau plus efficace et plus polyvalent.